Blog, we are back and this week we are discussing a super exciting topic…the School District #5 Design Lab!
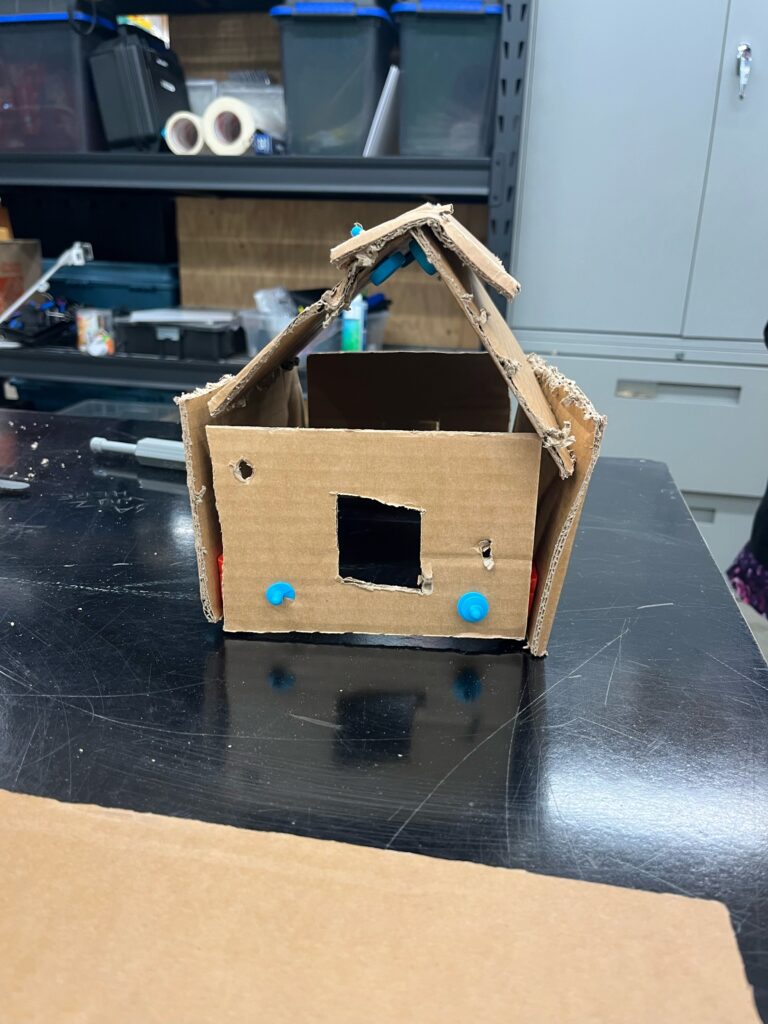
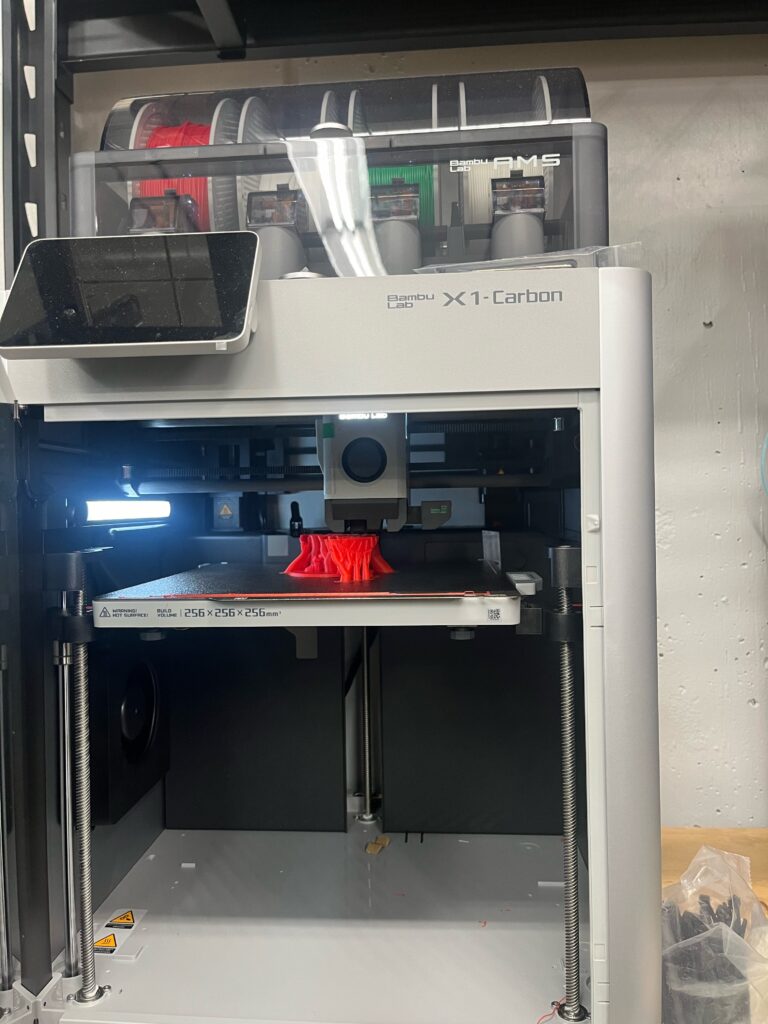
For class this week, we had the pleasure of visiting the SD#5 design lab, located in the basement of the Kootenay Orchards School. Ryan Mackenzie, the transformative learning teacher at the design lab, led our cohort through a tour of the space which housed so many different types of learning technologies, along with the District Resource Centre which had an abundance of outdoor equipment and other supplemental learning resources! After our tour, he discussed the use of technology in schools, highlighting connections between core competencies and technology use, along with describing the digital literacy skills that should be acquired at each grade level. Also he described ways the technology and the design lab can be used with students, highlighting photos and videos of past projects to give us inspiration as we move into our own teaching careers.
What Activities I Did:
With little time and so many activities to explore, it was both exciting and a bit overwhelming deciding where to start. Below, I’ll share some highlights from my design lab visit, featuring the activities I explored.
Pixicade – Game Creator
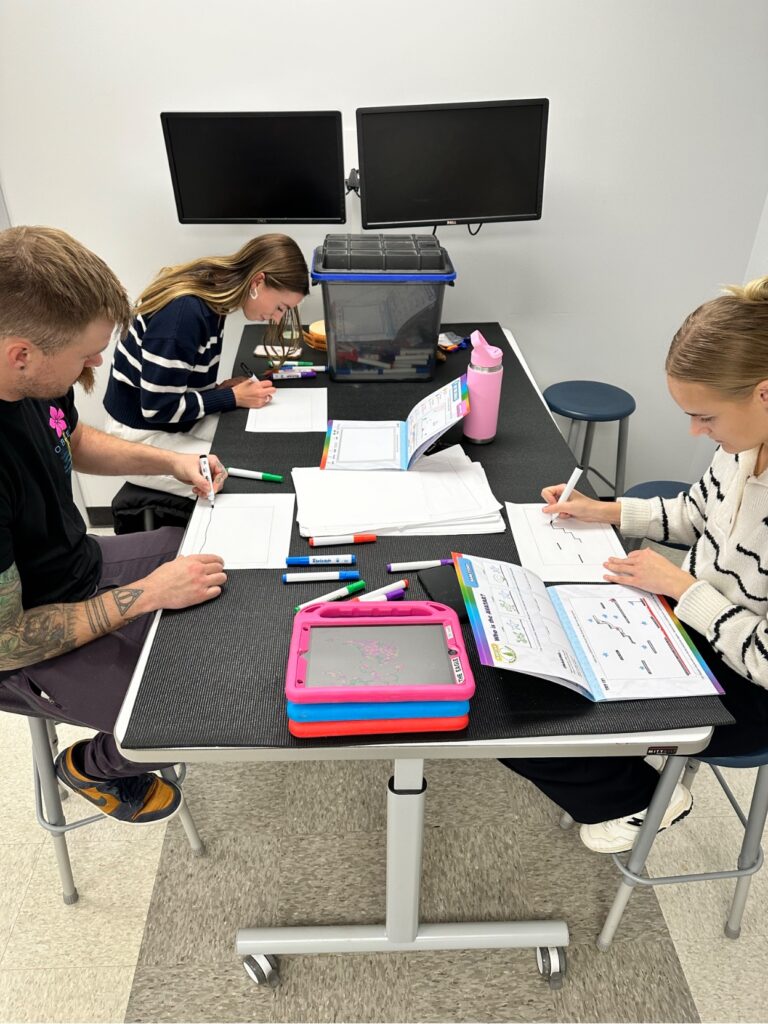
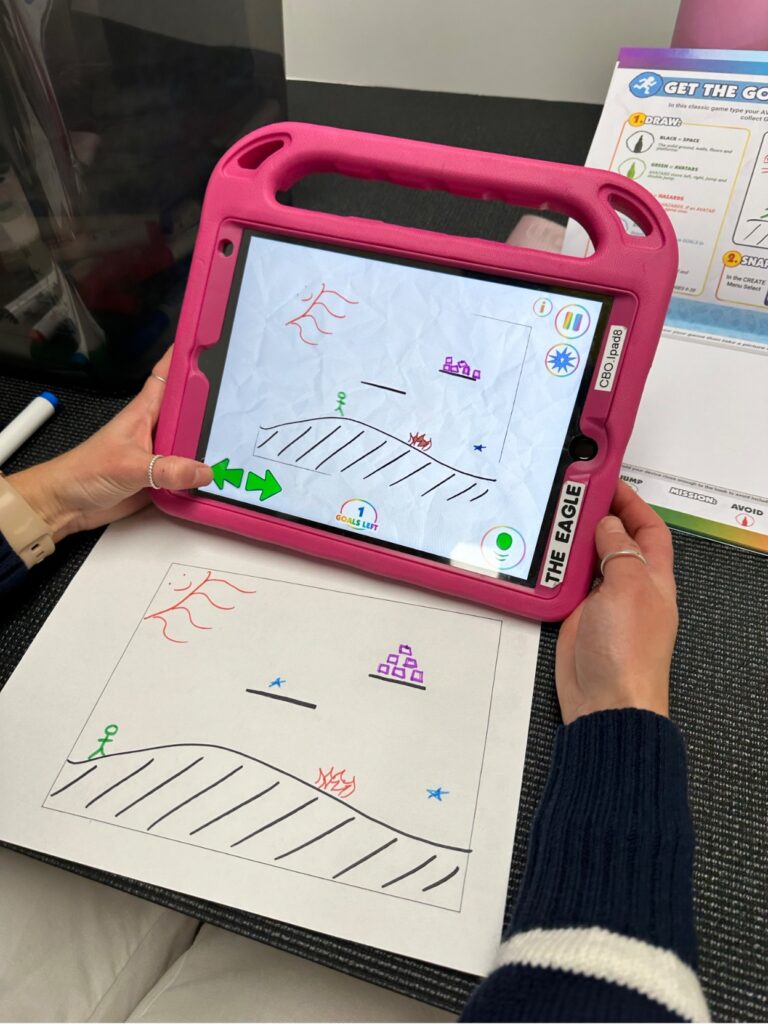
During this activity, I was able to create my very own video game! I know that sounds complicated but trust me this process was a breeze as the program is extremely user-friendly and requires no coding skills. The app comes with a guide that explains what each color of pen corresponds to: black for solid ground, purple for moveable objects, green for your avatar, blue for the items you wish to collect, and red for enemy objects. To start my design, I used the guide to create a similar version of one of the pre-designed game levels. All I had to do was get drawing using various colors, take a photo within the Pixicade app on the iPad and I was able to start playing my very own video game! Once the game is created the avatar can move right and left using the two arrows or can jump using a button. This would be such a fun way to integrate the basic concept of coding into school settings. I believe students would really enjoy getting to create games for one another, expanding on their creativity, sharing their design process with their peers, and testing out each other’s video game levels. Check out some photos below of my game designing process!
Ozobot – Coding
Ozobots are tiny robots that can be used for coding without screens! This activity was hands on, and we used magnetic tiles with different paths of travel and various movements to create a route for the Ozobot to follow. For example, we included tiles that made the Ozobot movements like U-turns and spins, and also added tiles that altered the speed the Ozobot travelled at. Ozobots could be used quite effectively at all ages. For younger students, they can use the pre-determined tiles or paper and different colored pens to program the Ozobots. Whereas for older students, they can extend their technology skills by using OzoBlockly, an online block-based programming application used to code the Ozobots.
Virtual Reality – Keep Talking and Nobody Explodes (Bomb Defusal Game)
It was so cool to be immersed into a different world during this activity! I worked through a bomb defusal activity that required teamwork, problem-solving, and communication skills. I had to describe the different symbols, wires, and other details of the bomb to my two “bomb defusal experts” (Savanna and Carolyn). They had a manual with directions to successfully decipher how to deactivate the bomb before the time ran out, based on the visual clues I provided them. It was a super exciting and interactive way to promote communication and problem-solving skills!
3D Pen – Handheld 3D Printing
3D pens are essentially mini handheld versions of 3D printers that work similarly to hot glue guns. The pens heat up, then you feed plastic strands, called filaments, through the end of the gun, as it heads the plastic melts becoming malleable, and by simply pushing a button, you can get creating! By drawing on scrap piece of laminator paper you can get as creative as you want with your design, or you could fill a mold from a silicone sheet, lastly you could trace over pictures or designs. I liked this because I am slightly artistically challenged and sometimes I get a little blocked when coming up with art ideas.
Other available technologies at the design lab include:
How I Envision Using the Space with a Class:
After watching videos of past student projects and hearing from Ryan about the endless possibilities of project ideas, I have described some projects below I would love to try with own class one day!
- Green Screen – I would love to have my students use the green screen for literacy, science, history, drama and more! With the green screen, students are able to “transport” themselves into different worlds, making their learning more engaging and creative. I could see this being especially exciting when working on drama skits or storytelling!
- Laser cutter – I could envision my class designing ornaments or wall decorations for their homes. I think this would be a super exciting project for kiddos as they can design and create something special they can cherish forever.
- GPS and Drones – Two highlighted past projects we saw were stunning student-captured drone video footage from TMO Day and GPS geocaching! These projects combine physical activity with outdoor learning, which I am passionate about. I believe it offers huge health benefits and helps students feel a sense of belonging in their environment. Practicing technology skills like GPS programming and drone flying would be an excellent way to get students excited about outdoor learning!
- Robotics Lego – Ryan showed us several past projects and the most frequent one was the “battle bots” Lego tournaments. The students all seemed so engaged and excited during the video footage. I cannot wait to get my students that passionate over their learning and technology use!
How does the design lab fit in with ‘Innovation in Education’?
Innovation in education means rethinking how we approach student learning and the design of our educational environments. Rather than relying on traditional class models where teachers lecture, students take notes, and standardized tests assess learning, we are shifting and adapting in how we teach and engage students. Integrating technology into the classroom and taking advantage of resources like the design lab makes learning more student centered and hands on. Incorporating technology in schools is extremely important as our world becomes continuously more technology driven. It is our responsibility as educators to set our students up for success and teach them real-world technology skills to utilize in and outside of the classroom.
What Stood Out?
What stood out to me was the variety of different technological resources available within the lab! There were so many new technologies available that I had never encountered before, like Pixicade and Ozobots. Seeing pictures and videos of past student projects also had a big impact; it helped me visualize how I could use these technologies in my own teaching career and inspired possible project ideas for my future students. Next, when watching the videos of past projects I couldn’t help but notice how engaged the students were when working with the technologies and the confidence and skill they developed. Lastly, Ryan’s drawing and explanation of the design process really resonated with me (see the graphic I created on Canva inspired by this process)!
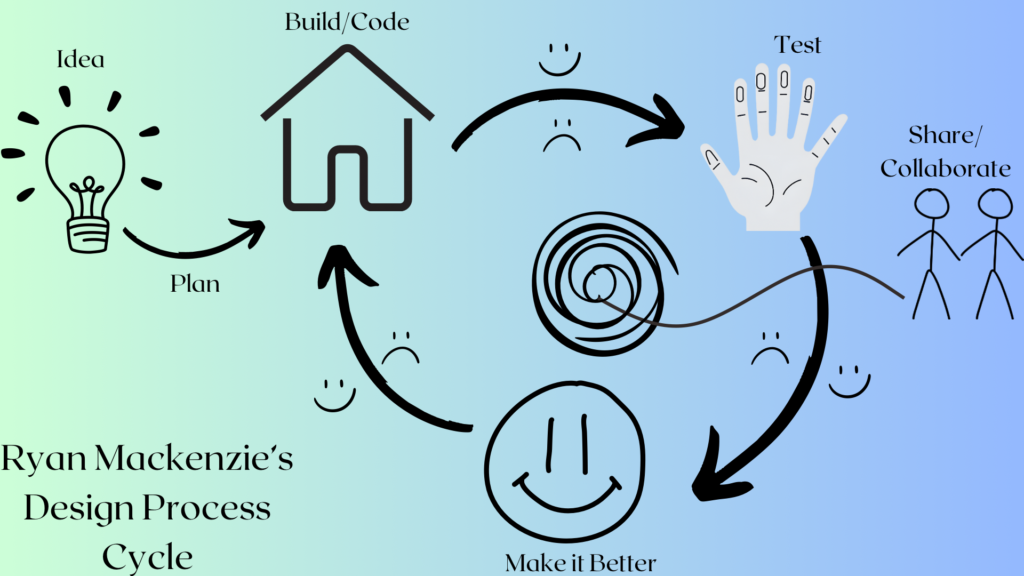
The way Ryan explained this process is that first an idea sparks, next we move into the planning phase. After our plan is devised we move into the building or coding portion. From there, we move into the testing phase, if there is room for improvement we make it better, by rebuilding or modifying the coding. This process is ongoing (represented by the swirling spiral in the middle of the cycle). This process also includes sharing and collaborating which promote the development of social-emotional learning (SEL) skills.
My favorite aspect of the design process is that it encourages students to think creatively, experiment, and see mistakes as an opportunity to grow. The emotions along the arrows show students that setbacks and frustration are a natural part of the design process. Not every step in the design process will be “correct,” as design often includes trial and error. I hope to use this graphic in my own class to teach my students to embrace mistakes as learning opportunities, hopefully boosting their confidence and making them feel comfortable taking risks in their learning.
Drawbacks:
It is tough to find any downsides of this experience! Integrating these different technologies into students’ learning not only helps them develop more technological skills but also enhances their creativity, confidence, and engagement. One of the possible drawbacks would be the size of the design lab. Since it is attached to the District Resource Centre, the space is tightly packed with an abundance of both tech and other resources. If you were to bring a large class into the lab it could become a bit overstimulating or overcrowded for students to effectively learn in. Additionally, Ryan is high in demand teacher and is frequently booked! Teachers can schedule class trips to the design lab space or even arrange for Ryan to travel to their schools with his technology resources. Moving forward, I will remember to always be cognizant of this and book my class visits or his school visit services well in advance.
Again, I just want to extend the biggest thank you to Ryan for introducing us to all this incredible technology and for showing us the endless ways to incorporate it into our future students learning journeys!
